
Updated
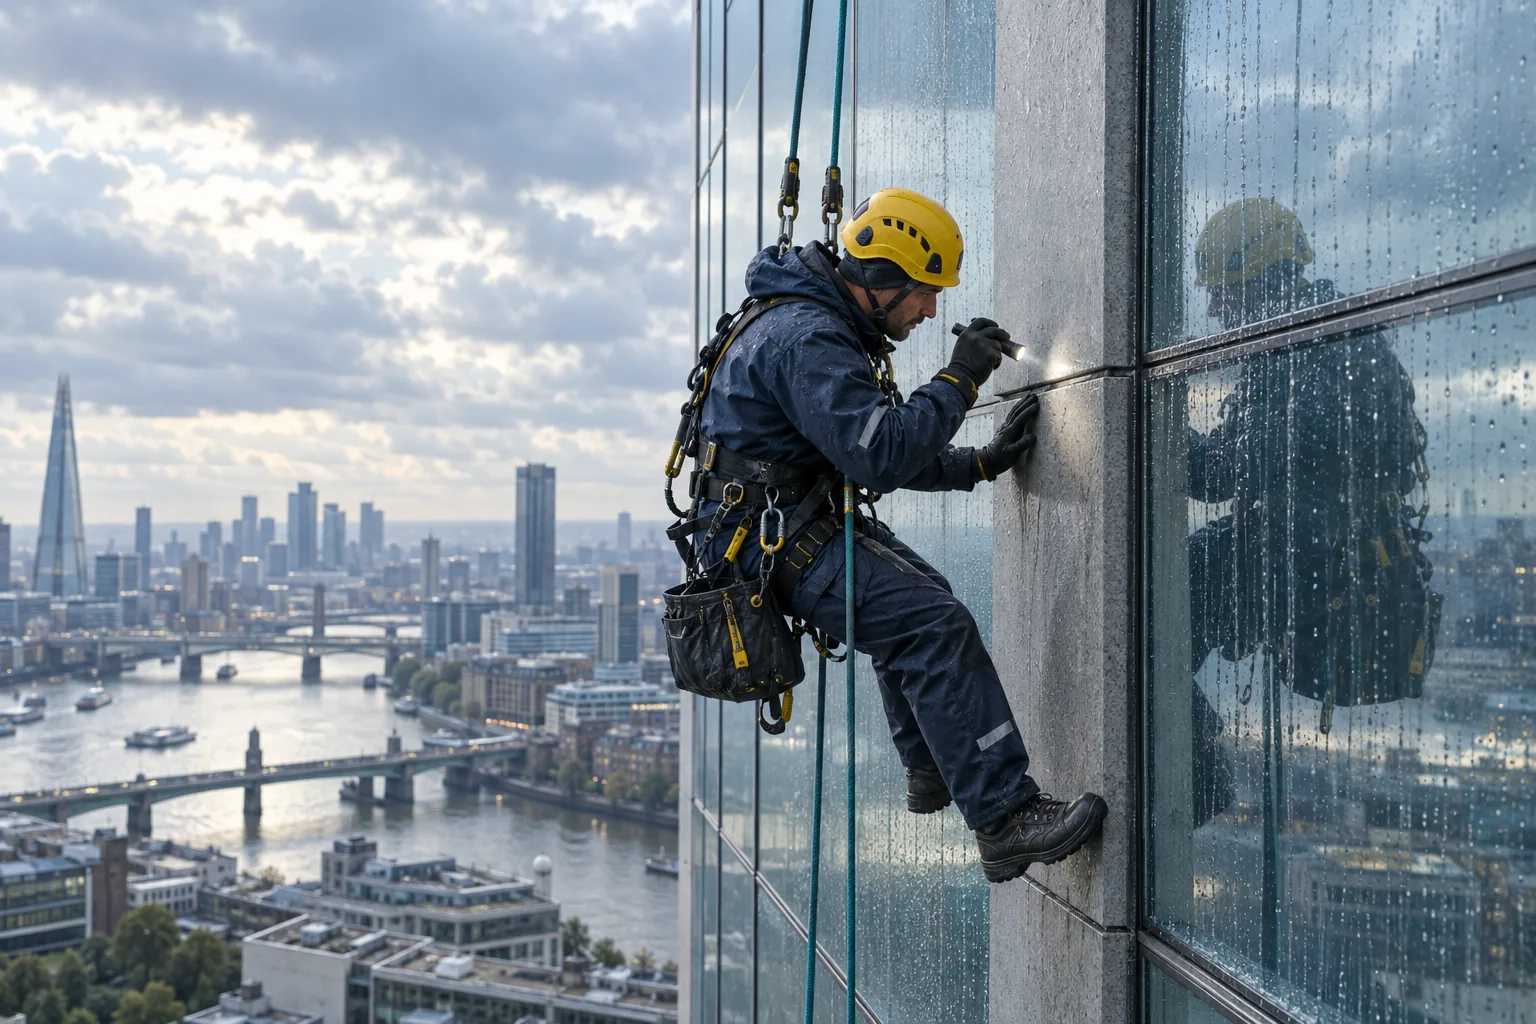
A stain inside a high-rise building tells you where water has become visible. It doesn't, on its own, identify the external defect that allowed it in. Rope access leak detection gives a specialist close access to parts of the roof or facade that are difficult to examine from the ground.
The aim of the investigation is to establish a credible cause and an appropriate repair. Before commissioning work, agree what the contractor will inspect, which tests are included and what evidence you will receive. An access team and a building-envelope specialist may have different roles in that process.
What can a rope access inspection investigate?
Depending on the building and the suspected problem, an inspection may cover glazing joints, cladding interfaces, roof details, flashings, pointing or rainwater drainage. The contractor should explain which areas are relevant to the symptoms rather than proposing to reseal every visible joint.
Corded's leak detection service describes different approaches for facades, glazing and roofs, including controlled water testing and other specialist techniques. This illustrates why the investigation method needs to match the construction. A test suitable for one roof membrane isn't automatically suitable for a glazed wall.
The rope access technicians provide close access; a surveyor, facade engineer or other specialist may interpret what they find. A window cleaning qualification or experience of working at height doesn't establish competence in leak detection. The proposal should name the person responsible for the diagnosis.
Prepare a useful leak history
Before requesting a visit, bring the existing information together. A dated record can help the investigator decide where to start and what conditions to reproduce. Include:
- The affected rooms, floors and elevations, marked on a plan if available.
- Photographs showing the first signs of moisture and any later change.
- When the leak occurs, including its relationship to rainfall or wind.
- Previous repairs, the areas treated and whether the symptoms changed.
- Relevant roof, facade and drainage drawings.
- Available access equipment records and restrictions on entry to occupied areas.
Describe observations without converting them into a diagnosis. “Water appeared above the east window during rain” is more useful than assuming the window seal has failed. Flag other possible sources, such as nearby services, so the investigator can decide whether a different trade is needed.
How a leak investigation should be scoped
Initial inspection of the building envelope
The specialist should review the reported symptoms and available records, then propose the areas to examine. Ask whether the first visit is a visual inspection, a testing visit or both. Confirm what happens if concealed details can't be assessed without opening part of the construction.
Before using rope access, the team assesses roof entry, anchors, working positions and protection below. Other access methods may suit parts of the investigation. A roof leak near a gutter outlet, for example, may need a different approach from water entering around high-level curtain walling.
Close inspection and targeted testing
Close inspection records the position and condition of suspected defects. Targeted testing then examines whether a detail allows water through under the test conditions. The report should explain the method, its limits and any further investigation needed; a visible defect alone may not account for the leak.
Testing in an occupied commercial building may require a technician outside and an observer inside. Access to the affected room, a named building contact and protection for interiors need arranging in advance, including how the water used during the test will be controlled.
Findings and a repair proposal
Commission a report that separates observed defects from suspected causes. A useful report identifies locations on photographs or drawings, records the tests undertaken and explains the basis for the recommended repair. It should also say where access was restricted or the evidence was inconclusive.
In Sky Access Glazing's published curtain-wall investigation, water testing and manufacturer input preceded a photographic report and costed remedial proposal.
Can leak detection and repair share one visit?
A defined repair can sometimes be completed during the investigation. The initial instruction should set the limit, such as a named defect and an agreed price, with further leak repairs referred back for approval. This gives the team a way to act on a clear finding without turning the visit into an open-ended repair order.
Materials, preparation and access may make a return visit necessary. If temporary protection is proposed, ask what it's intended to achieve, how it will be monitored and when a permanent repair will be considered. Record the distinction in the completion documents.
For sealant work, ask the specialist to identify the joint and specify the repair rather than simply quoting for “waterproofing”. For cladding or roof defects, establish whether opening-up, replacement components or another trade is required.
What affects the cost of rope access leak detection?
The number of investigation areas, access complexity, tests and reporting requirements affect the price. A visual inspection of one joint is a smaller scope than a diagnostic package involving several elevations and a separate surveyor or manufacturer. The quotation should make those differences visible.
Check the assumed number of visits and the approval process for further testing. Investigation and repair charges should be identifiable so you can commission a diagnosis before committing to remedial work.
How will you know the repair worked?
Agree the verification process before authorising the repair. Depending on the problem, this could involve a specified retest, monitoring during subsequent weather or a further inspection. Ask the specialist what evidence would demonstrate success and who will review any recurrence.
Keep the report, repair specification, photographs and verification record together. They provide continuity if the managing agent changes or another contractor later investigates a related problem.
Request help with a building leak
Send the building address, affected areas and leak history. We can check for a contractor to investigate the problem. Industrial Abseilers arranges introductions; the appointed contractor agrees the scope and quotation with you.
See waterproofing and sealing for repair enquiries, or facade inspections for a wider condition assessment.